
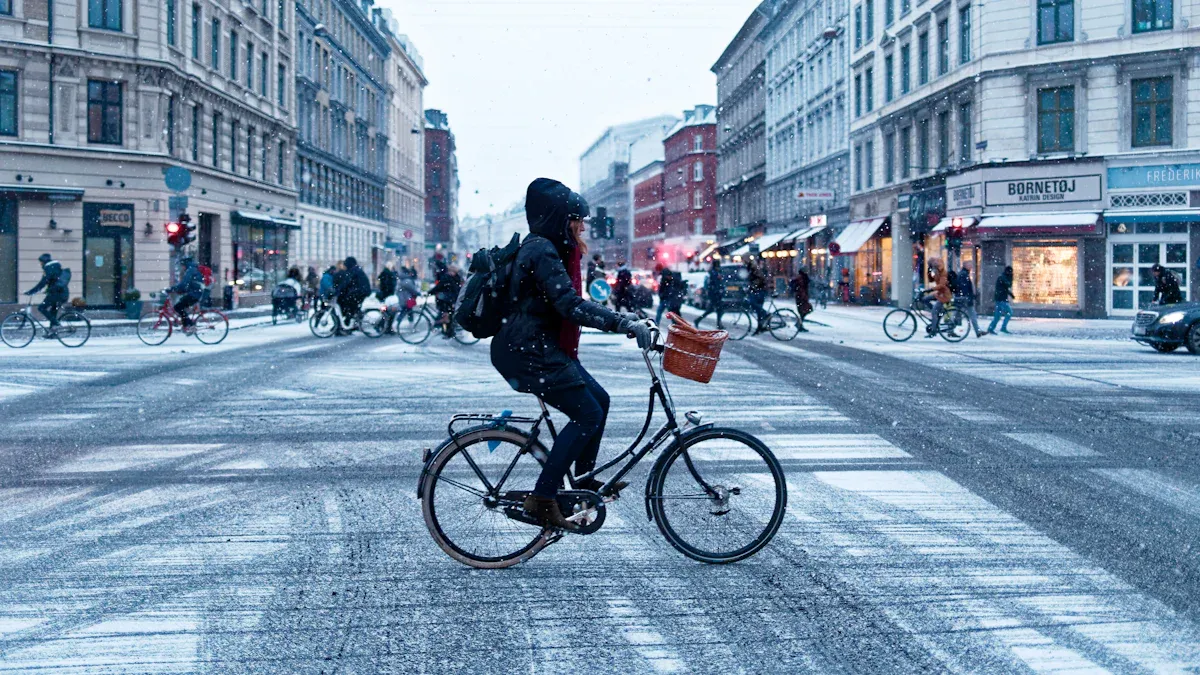
You ride your e-bike through the city every day, but are you wondering how to turn it into a real adventure? Maybe you've already heard of bike bikepacking and want to know how to get your e-bike ready for it. With a few adjustments, you can enjoy less exertion, more range, and even carry more luggage. Trekking or SUV e-bikes are particularly well-suited for longer tours. Let's find out together how to get the most out of your e-bike!
Key Takeaways
Pay attention to an ergonomic riding posture to avoid back pain on long rides. A good position improves comfort and efficiency.
Modify your e-bike with puncture-resistant tires and a comfortable saddle to ensure safety and comfort on longer tours.
Plan your route carefully and use navigation apps to ensure you find the best paths and charging options.
Pack smartly and pay attention to weight distribution to maintain the stability of your e-bike and ride safely.
Prepare for changing weather conditions by packing breathable and weatherproof clothing to maximize comfort during your ride.
Adjusting Your E-Bike
Riding Posture & Comfort
Do you want to use your e-bike not only for commuting to work but also for longer bike bikepacking tours? Then you should first focus on your riding posture. A good sitting position makes the difference between continuing to ride in a relaxed way after 20 kilometers or experiencing back pain.
Here you will find the most important ergonomic recommendations for long rides:
Recommendation |
Description |
|---|---|
Upper arm-torso angle |
Maintain as close to a right angle as possible between your upper arms and torso. |
Torso incline |
Lean your torso slightly forward. |
Back posture |
Keep your back relatively straight. |
Pelvic position |
Tilt your pelvis slightly forward; this supports a straight back. |
Arm posture |
Keep your arms slightly bent, not fully extended. |
Wrist position |
Wrists should remain in line with your forearms; avoid bending them. |
Foot position |
Place your feet on the balls of your feet, slightly further forward depending on the e-bike type. |
Tip: Properly adjusted and fitting components prevent movement-related discomfort. Seat height and reach determine how efficiently you pedal and how comfortable you feel. Ensure a natural posture for your shoulders and arms. An adjustable stem or different handlebar shapes help you optimally set the angle of your torso and arms.
Many e-bikes, especially city and trekking models, offer an upright riding position. This ensures comfort, especially on longer routes. If you prefer a sportier style, you can choose a slightly forward-leaning posture. This also helps build your endurance. Thus, the choice of e-bike influences how you sit and how comfortable you feel on long bike bikepacking tours.
Modifications for Tours
For longer trips or weekend adventures, you need more than just a good riding posture. Small adjustments make your e-bike tour-ready and ensure more comfort and safety.
Here are typical modifications you should consider for bike bikepacking:
More comfortable saddle: A saddle that fits your sit bone distance prevents pain and numbness.
Puncture-resistant tires: They protect you from unexpected stops and give you security on gravel, forest paths, or asphalt.
Additional bottle cages: Especially on longer routes, you need more water. A second or third bottle cage is worth its weight in gold.
Wider tires: They offer more comfort and better grip, especially on the front. This pays off on uneven paths.
Adjustable handlebar height: This allows you to adjust the riding position even with different loads, keeping you flexible.
Note: Adjusting the handlebar height ensures that you remain relaxed in every riding situation – no matter how much luggage you are carrying.
E-bikes are heavier than regular bicycles. The average weight is often between 20 and 25 kilograms. This affects handling. You need stronger brakes, ideally disc brakes, as they function reliably even in wet conditions. The longer braking distance and higher weight require more attention, especially when you are loaded with gear.
If you are planning longer bike bikepacking tours, it is worth looking at the battery capacity. 500 Wh is standard, but for big adventures, there are batteries with up to 1,000 Wh. This makes you more flexible and reduces range anxiety.
With these adjustments, your e-bike becomes the perfect companion for every adventure – whether you just want to get out for the weekend or are planning a multi-day trip.
Equipment & Packing
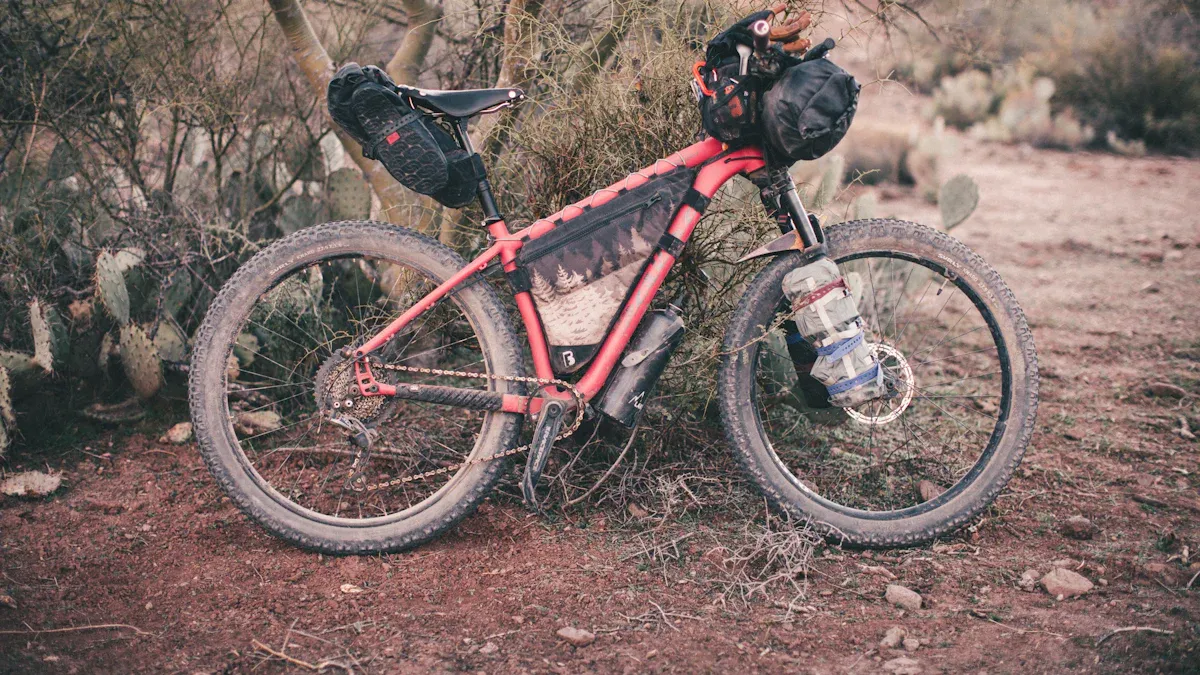
Do you want to go on a big tour with your e-bike? Then you need the right equipment. Good preparation makes the difference between stress and fun. Here you will learn what you really need, how to pack everything smartly, and what you should look out for regarding tools and clothing.
Bike Bikepacking Packing List
A well-thought-out packing list helps you not to forget anything and not to take too much. Many items are indispensable for bike bikepacking. Take a look at this overview:
Equipment item |
Description |
|---|---|
Handlebar roll |
For extra storage space and easy access. |
Frame bag |
Practical for tools and spare parts. |
Seat pack |
Provides plenty of storage space and aids weight distribution. |
GPS/App for route planning |
Indispensable for navigation. |
Tent with small pack size |
Protects against weather and insects. |
Sleeping pad/air mattress |
For sleeping comfort. |
Sleeping bag |
Necessary for overnight stays. |
Water bottle with holder |
For hydration during the ride. |
Bike lights |
For safety in the dark. |
Additionally, many experienced bike bikepacking fans recommend:
Top tube bag: Fits your mobile phone, snacks, or a power bank.
Fork cages: Ideal for a cooking set, tent poles, or extra water.
Food pouches / Stem bags: Perfect for bars, small bottles, or the camera.
Tip: Write your own packing list before every tour. This way you won't forget anything and can adjust what you really needed after the trip.
Bags & Attachment
Choosing the right bags and their attachment is particularly important for e-bikes. Many models have an integrated battery that takes up space on the frame. However, there are smart systems that offer plenty of storage space regardless. Here is an overview:
Product name |
Attachment system |
Suitable for |
|---|---|---|
Giant Pannier bag |
MIK-system |
Carrier rack, even with battery |
Racktime Heda bike bag |
Racktime-system |
Carrier rack |
KTM Plus rack bag |
Snap-it system |
Carrier rack |
Vaude AquaBack Color |
Universal |
all carrier racks |
Giant battery bag |
MIK-system |
Battery transport |
Topeak Midloader frame bag |
Frame |
Frame tube |
Many bags can be quickly detached and reattached. This is practical if you need to leave your e-bike unattended. For longer routes, you can carry a spare battery in a special battery bag. This keeps your backpack free and distributes the weight better.
When packing, the right weight distribution is crucial. This keeps your bike stable and safe:
Pack heavy items at the bottom and light ones at the top.
Keep the center of gravity of the bags as close to the wheel axles as possible.
Distribute the weight evenly – about one-third in front, two-thirds in back.
Always use panniers in pairs so the bike doesn't tip over.
Note: A low center of gravity helps you to brake safely and navigate curves, even with a heavy load.
Tools & Spare Parts
Nothing is more annoying than a breakdown in the middle of nowhere. With the right tools, you are prepared. For e-bikes, you sometimes need special tools, especially for the motor and battery. Many workshops can help you, but you should always carry a few basics:
Multitool with screwdrivers, hex keys, and a chain link opener
Repair kit for tubes and tubeless patches
Tire levers (1-2 pieces)
Mini pump
Spare tube
Chain master link
Valve key and valve adapter for gas stations
Rag for the chain
Liquid wax for chain maintenance
Cable ties and some duct tape
Tip: E-bikes sometimes require special tools. Have your bike checked at the shop before the tour so everything is in order.
Clothing & Weather
The weather can change quickly. With the right clothing, you stay flexible and safe. Breathable, quick-drying, and windproof items make every tour more pleasant. For rain, it's best to pack a light rain jacket and rain pants. A thin down or Primaloft jacket will keep you warm in the evening.
For changing temperatures, leg warmers, arm warmers, and rain covers for your shoes will help. Two jerseys and a pair of bib shorts are often enough because you can wash and quickly dry them on the road.
Padded cycling shorts prevent pain and chafing.
Breathable materials ensure comfort and less air resistance.
Close-fitting jerseys dry quickly and keep you visible.
Reflective jackets and elements increase your safety in traffic.
A well-fitting helmet protects you in case of falls.
Remember: Good clothing protects you not only from the weather but also from injuries and accidents.
With this equipment, you are well-prepared for your next bike bikepacking adventure. Pack smart, stay flexible, and enjoy the freedom on two wheels!
Battery & Charging
Planning Range
Do you want to know how far you can really go with your e-bike and luggage? Many factors play a role. The range depends not only on the battery. Your riding style, the terrain, and the weather also influence how long your battery lasts.
Here you see the most important points you should keep in mind:
Support level: The higher you choose it, the faster the battery will be empty.
Pedal resistance: If you pedal hard yourself, you save energy.
Incline: Hills cost more power.
Surface: Gravel or sand require more energy than asphalt.
Season: Cold weather depletes batteries faster.
Total weight: More luggage and a heavy bike require more energy.
Tip: Use an e-bike range calculator. This way you can better plan your tour and avoid surprises.
Most batteries have 400 to 500 Wh. The more watt-hours, the further you get. However, a larger battery also weighs more.
Charging Options
You will find many opportunities to charge your battery while on the road. In cafes, restaurants, or at special e-bike charging stations, you can often get electricity. Many campsites offer sockets for guests. Just ask politely if you can charge for a bit.
A small table helps you find the best charging options:
Location |
Power outlet available? |
Note |
|---|---|---|
Café/Restaurant |
✅ |
Often requires asking |
Campsite |
✅ |
Usually for a fee |
E-bike station |
✅ |
Specifically for e-bikes |
Hotel/Guesthouse |
✅ |
Ask in advance |
Supermarket |
❌/✅ |
Rare, but possible |
Note: Charge your battery at room temperature whenever possible. This protects the cells and provides greater range.
Spare battery & power bank
If you are planning a longer tour, a spare battery is worth it. It doubles your range and gives you more flexibility. A range extender is often lighter and easily attaches to the bike, saving space in your backpack.
Power banks also help while on the go. For longer tours, we recommend a large 20,000 mAh power bank and a smaller 10,000 mAh one. This allows you to charge your phone, GPS, or lights independently of power outlets. Make sure the power bank remains compact and lightweight. Having multiple models makes you more independent.
Tip: Check before your tour whether your power bank is compatible with your e-bike battery. Not every power bank can charge large batteries.
With good planning and the right equipment, you will always stay mobile – no matter how far your adventure takes you! 🚴♂️🔋
Routes & Planning
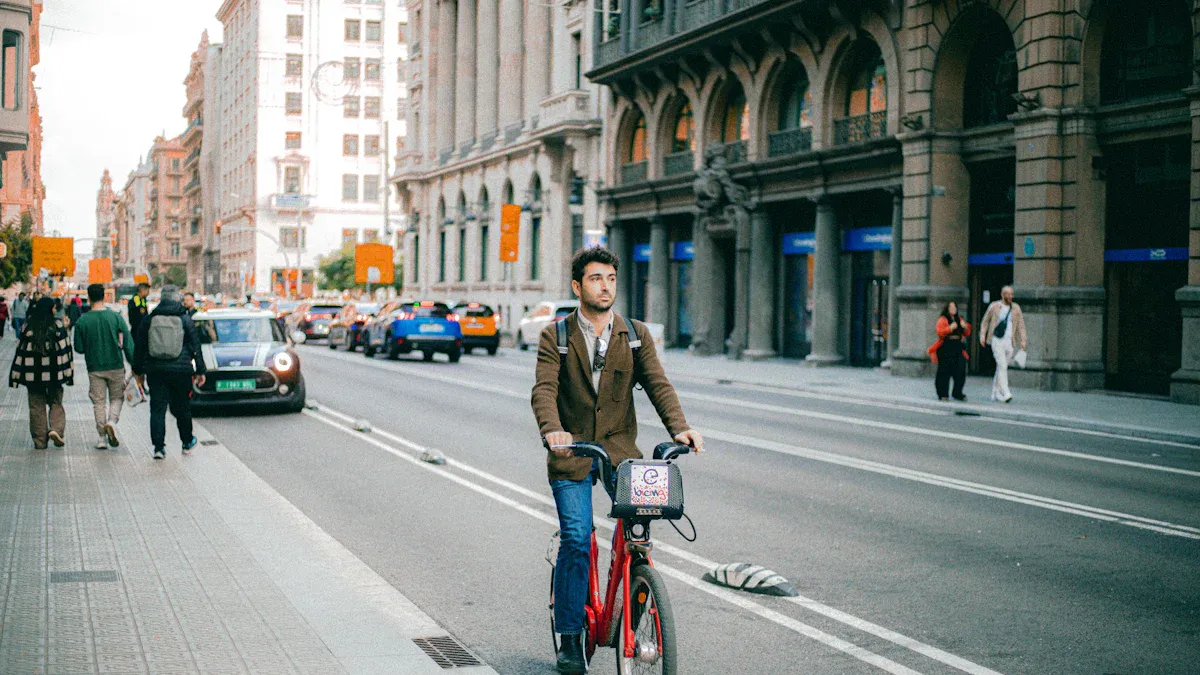
Starting in the city
Do you want to start your adventure right from your city? That works perfectly with an e-bike. Many routes begin in the middle of urban areas. You can start, for example, at a train station, park, or well-known bike paths. Think about how to get out into nature quickly. River bike paths or old railway trails often lead out of the city. They are well-marked and offer a relaxed ride. If you are still unsure, an app can help you find the best route into the surrounding area.
Tip: Start early in the morning. This way, you avoid heavy traffic and enjoy the peace and quiet during the first few kilometers.
Bike Bikepacking Routes
Choosing the right route is important for your bike bikepacking experience. You should pay attention to a few criteria:
Type of terrain
Battery capacity
Planning charging options
Choosing the right e-bike type
Considering your own fitness level
Time available
Every environment has different requirements. Mountain routes require strength and good endurance. Flat routes are easier but often longer. For beginners, well-developed paths like the Nord-Ostsee-Kanal route or the Havel bike path are suitable. If you are looking for more adventure, try the Candy B. Graveller or the Jurasteig in Bavaria. In Europe, the Alpe-Adria bike path and the Algarve bike path are very popular. You can also find short loops like the Lost-in-Brandenburg loop or the Sweet and Sauerland.
Navigation & Apps
Don't want to get lost on the way? Modern apps make navigation easy. Popular apps include Komoot, Bike Citizens, ViewRanger, Falk Maps & Route Planner, and Bikemap. They show you routes, elevation profiles, and points of interest. For mountain bikers, there are Trailforks and AllTrails. Wikiloc offers almost 30 million trails worldwide.
Aspect |
Classic maps |
|
|---|---|---|
Reliability |
High |
Manually interpretable |
Route planning |
Simple and interactive |
Manual and time-consuming |
Additional features |
Elevation profiles, sights |
No additional features |
Battery life |
Good, even in flight mode |
Depends on usage |
Value for money |
Better, often cheaper than GPS devices |
Higher costs for maps and devices |
Backup recommendation |
Paper map recommended as backup |
N/A |
Note: A paper map as a backup is always useful in case your battery dies or your phone fails.
With good planning and the right tools, you will always find the best path for your adventure!
Accommodation & Safety
Sleeping options
You have many possibilities for where to spend the night. Each option has its own pros and cons. Check out this overview:
Accommodation type |
Costs |
Comfort |
|---|---|---|
Youth hostel |
Cheap |
Dormitory, often with strangers |
Hotel |
Expensive |
Cozy room with private bath |
Guesthouse |
Moderate |
Combination of hotel and inn |
Hostel |
Cheap |
Dormitory, less adventurous |
Managed mountain huts |
Variable |
Room with multiple beds, some self-service |
Couchsurfing |
Free |
Uncertain; comfort and cleanliness vary |
Wild camping |
Almost free |
Close to nature, but often forbidden in Germany |
Shelters |
Cheap |
Basic, but must be left clean |
Many bikepackers like to sleep in a tent or in shelters. It costs almost nothing and brings you closer to nature. Hotels and guesthouses offer more comfort but are more expensive. Youth hostels and hostels are priced in between and are often a good choice for smaller budgets.
Tip: Book accommodation early in the high season. That way, you'll be on the safe side!
Safety on the go
Your e-bike is valuable. You should always secure it well. Here are a few tips on how to make life difficult for thieves:
Turn the lock cylinder downward.
Park your bike in bright, visible places.
Secure the wheels directly to the frame.
Remove the saddle if you are going to be away for a long time.
Change your parking spot regularly.
Use a GPS tracker.
Integrate an alarm system.
Remove the battery and display if possible.
Note: The more conspicuous and secure your bike is, the less attractive it is to thieves.
Riding with luggage
More luggage changes the handling of your e-bike. The bike becomes heavier and reacts differently. Here are some typical risks:
Risk |
Description |
|---|---|
Overloading |
Your bike brakes poorly and is harder to control. |
Uneven weight distribution |
Instability and unsafe handling are imminent. |
Unstable handling |
Handlebar bags increase braking distance and make the bike wobbly. |
Shift in center of gravity |
The center of gravity shifts, making steering more difficult. |
You can control the bike better if you distribute the weight evenly. Technical training helps you ride more safely. The right body posture, such as the so-called "cowboy stance," gives you more control and safety. Wide tires ensure good grip and make riding more pleasant – even with heavy luggage.
Tip: Practice riding with a full load before your trip. This will make you feel more secure while on the road! 🚴♀️
You now have everything you need for your e-bike bikepacking. With good planning and the right equipment, your e-bike will become a true adventure vehicle. You aren't just strengthening your muscles, but also doing a lot for your health:
You release more endorphins.
Your cardiovascular system works more efficiently.
Your circulation improves.
Your muscles grow.
Just get started – your next adventure is already waiting for you! 🚴♂️✨
FAQ
How much luggage can I carry on my e-bike?
You can usually carry 15 to 25 kilograms safely. Pay attention to the manufacturer's specifications. Distribute the weight evenly. Test riding with luggage before your tour.
Do I need to give my e-bike special maintenance for bikepacking?
Yes, you should check your e-bike before every long tour. Check the brakes, tire pressure, and battery. A quick workshop check gives you peace of mind.
Can I charge my e-bike anywhere?
You will find many charging options. Cafés, campsites, and hotels often offer power outlets. Ask nicely. A small power bank helps you charge your phone and lights on the go.
What do I do if I have a breakdown on the road?
Stay calm. Use your toolkit and puncture repair kit. You can fix many small problems yourself. For major damage, a nearby workshop or breakdown service often helps.