
Regular maintenance and cleaning of your bicycle's disc brakes are essential. Clean and well-maintained brakes ensure reliable braking performance. This increases your safety and extends the service life of the components. Neglected brakes, on the other hand, can be dangerous and lead to expensive repairs. Take the time for proper maintenance – it's worth it!
Key Takeaways
Clean disc brakes perform better and make your bike safer. Clean them every 2-4 weeks, especially in rainy conditions.
Use brake cleaner, as standard cleaners can leave residues behind. These residues can reduce braking effectiveness.
Check the brake pads frequently. Replace them if they are thinner than 1 mm to ensure safe riding.
Tools and Materials Needed
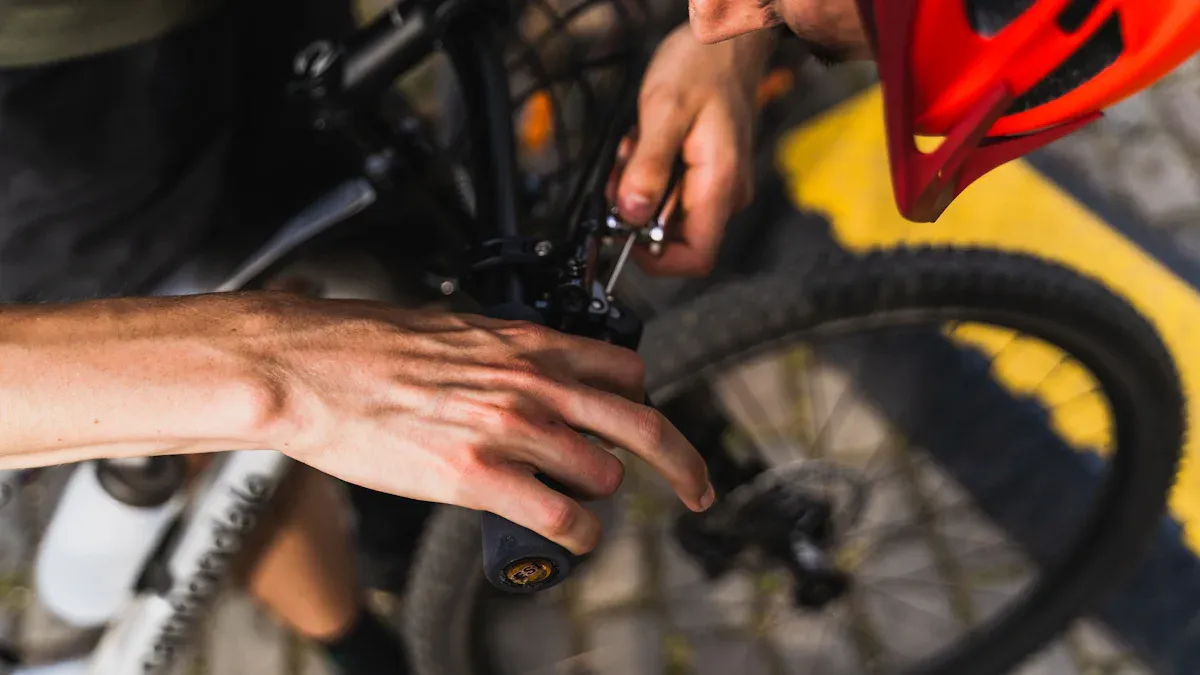
To effectively maintain and clean your disc brakes, you need the right tools and materials. Having the proper equipment makes maintenance quick and safe.
Cleaning Supplies
Keep the following items ready for cleaning your disc brakes:
Brake cleaner: A specialized cleaner removes dirt and grease from the brake rotors. It ensures optimal braking performance.
Grease-free cloth: Use a lint-free cloth to wipe the rotors after cleaning. This prevents residue build-up.
Gloves: Protect your hands from dirt and chemicals. Gloves also prevent grease or oil from your hands from getting onto the brake rotors.
Tip: Laser-coated brake rotors offer advantages in terms of wear and emissions. They are more durable and environmentally friendly than conventional gray cast iron rotors.
Maintenance Tools
You need precision tools for brake maintenance:
Torx key: This tool allows you to loosen or tighten the brake rotor bolts.
Torque wrench: This helps you tighten bolts to the correct torque, preventing damage from over-tightening.
Sandpaper: You can clean slightly dirty brake pads with fine sandpaper to improve their frictional properties.
Note: Noises such as squealing are often caused by incompatible material pairings or glazed pads. You can resolve such issues with the right tools.
With these supplies and tools, you are well-equipped to clean and maintain your disc brakes.
Step-by-Step Cleaning Guide
Preparing the Bike
Before you begin cleaning, stabilize your bike. Place it on a repair stand or lean it securely against a wall. Optionally, you can remove the wheel for easier access to the brake rotors. Wear gloves to avoid getting grease marks on the rotors. This preparation ensures a clean and safe workspace.
Tip: If you remove the wheel, you can clean the rotors more thoroughly and avoid damaging other parts.
Cleaning the Brake Rotors
Apply some brake cleaner to a grease-free cloth.
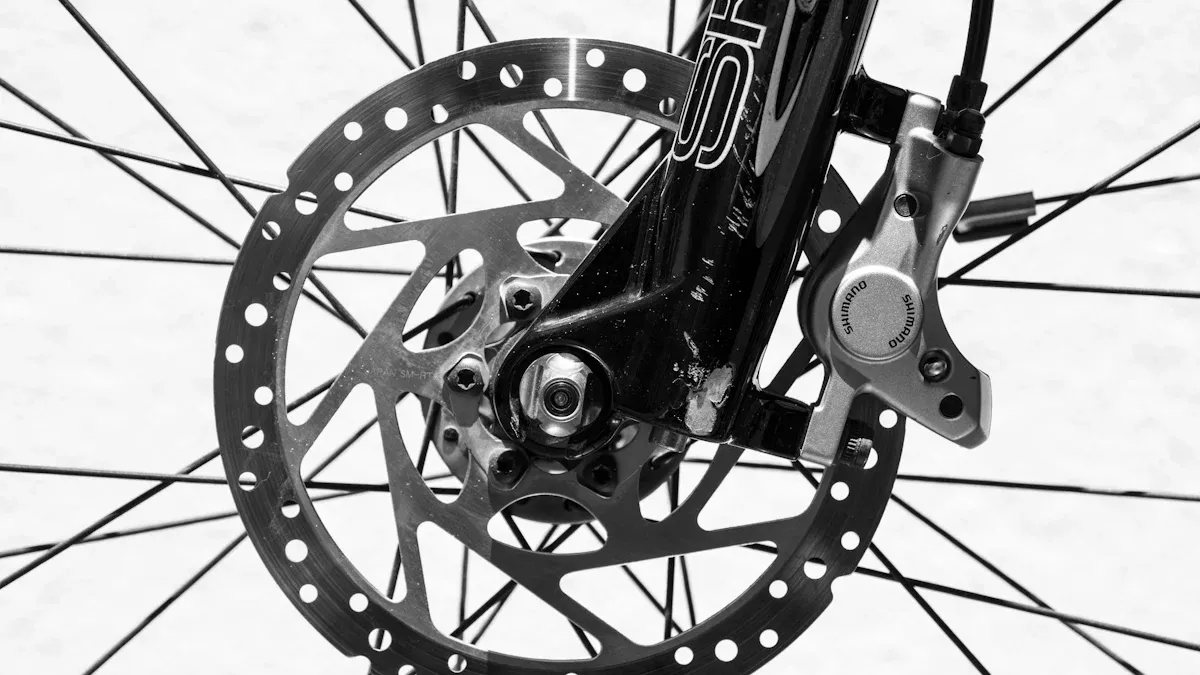
Wipe the brake rotor thoroughly. Pay special attention to the outer ring, as dirt often accumulates there.
Let the cleaner evaporate for a few seconds.
If you have removed the brake rotor, you can spray the cleaner directly onto it.
Reinstall the brake rotor. Tighten the bolts using a torque wrench, adhering to the recommended Nm value.
A clean brake rotor improves braking performance and increases safety. Repeat this process regularly to extend the lifespan of your brakes.
Dealing with Oily or Dirty Brake Pads
Oily or heavily soiled brake pads significantly impair braking performance. You can try cleaning the pads with fine sandpaper or cleaning benzene, but there is a high chance they will remain unusable. For glazed pads caused by high temperatures, sanding the surface can help restore the coefficient of friction.
Note: In most cases, it is better to replace the brake pads. New pads guarantee optimal braking performance and are the safer choice.
With these steps, you ensure that your bicycle disc brake maintenance and cleaning are performed effectively and thoroughly. Clean rotors and intact pads are crucial for your safety.
Maintenance and Troubleshooting
Checking and Replacing Brake Pads
Regularly check the condition of your brake pads. Worn pads impair braking performance and increase the risk of accidents. Replace the pads if their thickness is less than 1 mm. Ensure you only use compatible replacement pads to guarantee optimal disc brake function.
Tip: Also check the pads if the brakes are squealing. Often, worn or glazed pads are the cause of the noise.
Bedding in New Brake Pads
New brake pads must be bedded in to achieve their full performance. Accelerate to about 20 km/h on a clear path and brake evenly until you reach walking pace. Repeat this process 20 times. Then, accelerate to 30 km/h and brake to walking pace again. Repeat this at least 10 times. Let the brakes cool down afterward before applying full pressure.
Note: This process improves the friction between the pads and rotors and ensures even wear.
Resolving Noise Issues
Squealing is often caused by moisture, dirt, or glazed pads. Clean the brake rotors with brake cleaner and check the pads. Replace glazed pads, as they significantly degrade braking performance. A misaligned brake caliper can also cause noise; adjust it manually to ensure correct positioning.
Calibration and Readjustment of Brakes
Precise brake calibration is crucial for their function. Ensure the brake caliper is centered over the rotor. Slightly loosen the bolts, align the caliper, and tighten the bolts again. Check the pistons regularly; they should extend evenly and smoothly. Clean them if necessary to ensure proper operation.
With these measures, you ensure that your bicycle disc brake maintenance and cleaning are performed effectively, increasing safety and extending the service life of your brakes.
Additional Care Tips
Avoiding Pressure Washers
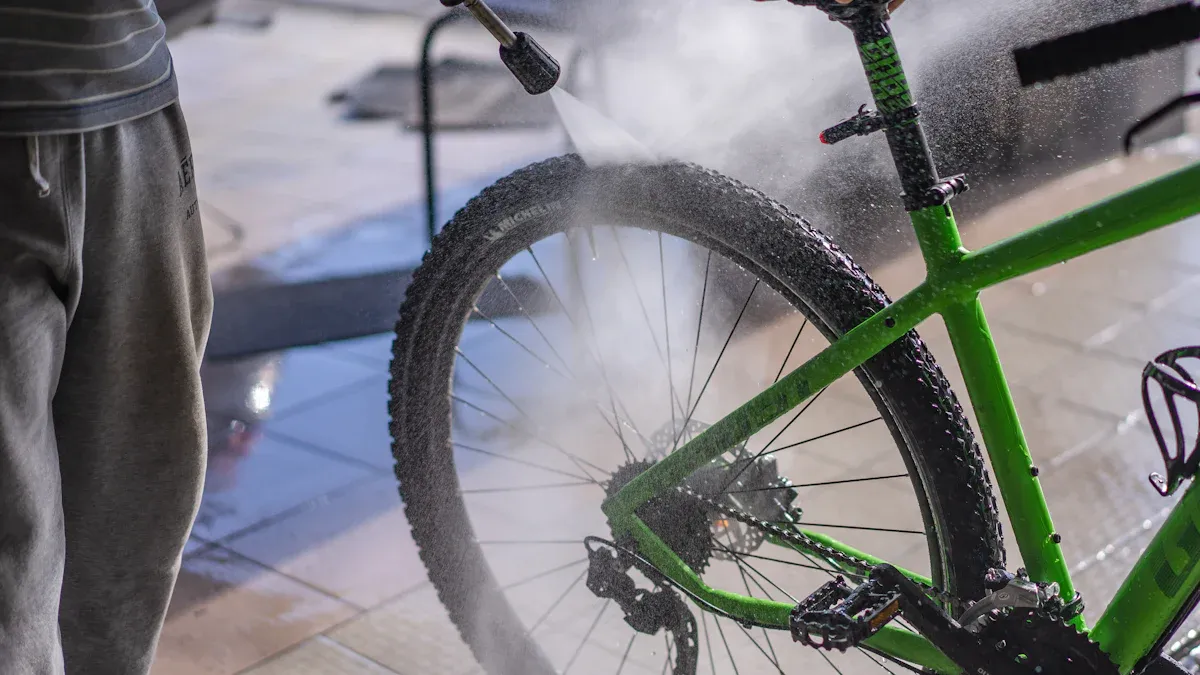
Pressure washers can damage sensitive bicycle components. The high-pressure jet penetrates bearings and seals, leading to corrosion and impairing brake function. Instead, use a bucket of water, a sponge, and a soft brush to clean your bike gently and avoid damage.
Tip: Keep the area around the brake rotors dry. Moisture can impair braking performance.
Winter Maintenance and Protection Against Salt and Moisture
In winter, road salt and moisture are particularly harsh on your bike. Salt promotes rust and attacks the brakes. Clean your bike thoroughly after every ride, making sure to remove salt residue from the brake rotors and pads. After cleaning, apply a protective spray to metal parts to guard against corrosion.
Note: Store your bike in a dry place to prevent moisture from damaging the brakes.
Care for Hydraulic Brakes
Hydraulic brakes require special attention. Air in the system is a common cause of malfunction. You should bleed the brake system regularly, which requires technical skill and the right equipment. Ensure the service ports are easily accessible. Shimano XT and SRAM brakes offer easy operation in this regard.
Air in the system impairs braking performance.
Bleeding ensures reliable operation.
If unsure, have the maintenance performed by a professional workshop.
Tip: Hydraulic brakes must function at 100%. Your safety depends on it.
With these tips, your bike will remain in top condition even under difficult conditions. Regular maintenance extends the life of your brakes and ensures optimal performance.
Regularly maintaining your disc brakes secures optimal braking performance, extends their lifespan, and increases your safety. With the right tools and simple steps, you can perform the maintenance yourself.
Tip: Start maintaining your brakes today. You will feel the difference and enjoy cycling more safely! 🚴♂️
FAQ
How often should I clean my disc brakes?
Clean your disc brakes every 2-4 weeks, depending on riding conditions. More frequent cleaning is recommended in rainy, muddy, or winter road conditions.
Tip: Regular maintenance prevents wear and improves braking performance.
Can I use standard cleaning agents for the brake rotors?
No, use only specialized brake cleaner. Standard cleaning agents leave residues that can impair braking performance.
What should I do if the brakes squeal despite cleaning?
Check the pads for glazing or wear. Replace them if necessary. Adjust the brake caliper to ensure proper alignment.
Note: Squealing can also be caused by moisture or dirt. Clean the brake rotors thoroughly.