
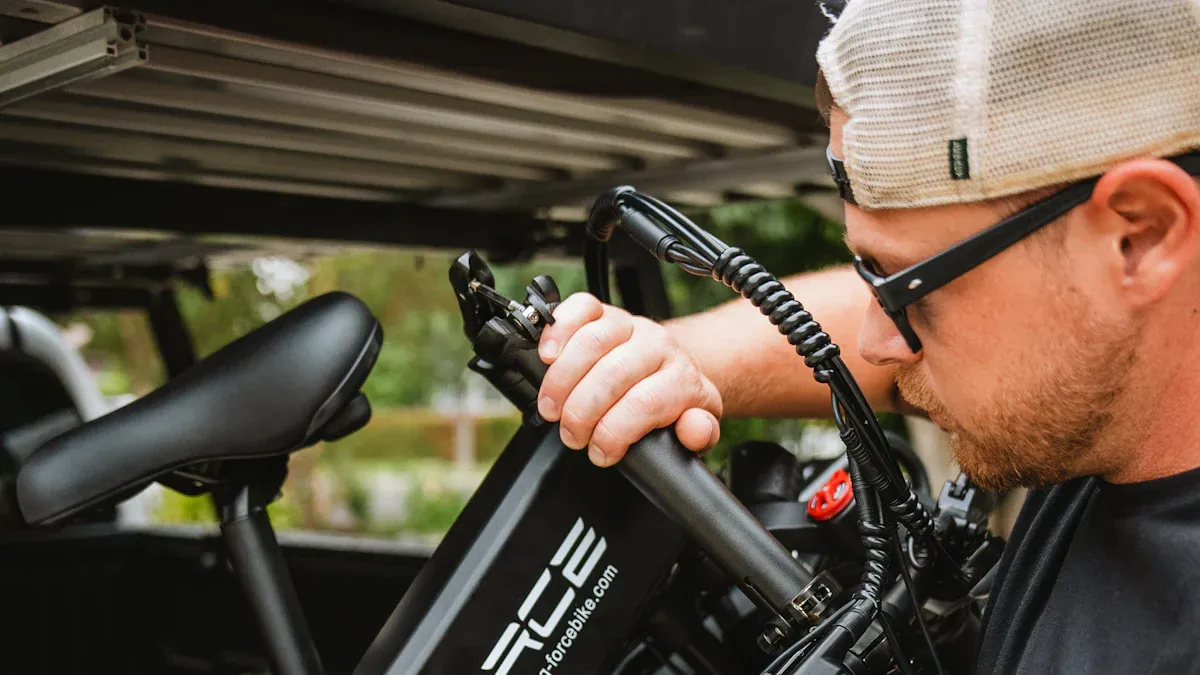
Removing and installing your e-bike battery requires care. Proper handling protects not only the electronics but also your safety. Mistakes, such as disconnecting the connections improperly, can damage the e-bike battery. By following the right steps and precautions, you can avoid risks and extend the battery’s lifespan.
Key Takeaways
Turn off your e-bike. Keep the key handy. This helps you avoid electrical hazards.
Wear protective clothing and gloves. This makes the job safer.
Inspect the battery carefully. Look for damage or dirt. Clean contacts are important for safety and performance.
Safety Precautions Before Removing the Battery
Turn Off the Bike and Keep the Key Handy
Before removing the battery from your e-bike, turn the bike off completely. This prevents electricity from flowing through the system and protects you from potential electrical hazards. Find the key for the battery lock and keep it within reach. You won’t be able to unlock the battery without the key. Also check that the display is off to make sure no power is flowing.
Wear Protective Clothing and Gloves
Always wear appropriate protective clothing when working on the battery. Gloves are especially important because they protect your hands from dirt, sharp edges, and possible electric shocks. Choose gloves made of a material that is both flexible and insulating. This not only improves your safety but also makes the battery easier to handle.
Make Sure the E-Bike Is Stable
Make sure your e-bike is on a stable, level surface. A bike that tips over can damage the battery or cause injuries. Use the kickstand if available, or lean the bike securely against a wall. Make sure the bike does not wobble while you work. Stability is essential for safely removing and reinstalling the battery.
Tip: Work in a well-lit area so you can see each step clearly and avoid mistakes.
Tools and Materials
Tools Needed to Remove the Battery
You’ll need a few basic tools to remove the battery from your e-bike. A multitool should always be close at hand. It includes various standard tools to help you with the job. Special e-bike motors often require additional tools. For example, a crank puller is needed to loosen the crank arm and open the motor cover.
Tip: Check that your tools are in good condition before you start. Damaged or worn tools can make the job harder and increase the risk of injury.
Additional Aids for Installation
In addition to standard tools, there are a few aids that make battery installation safer and more efficient. Tools with sensors, such as drivers with KickBack Control, improve safety. This feature switches off the motor when it detects a jam. More than four million of these devices have been sold, demonstrating their effectiveness.
A well-lit work area is also important. A headlamp or portable LED lamp makes it easier to see each step clearly. Gloves made of insulating material protect your hands from injury and dirt.
Note: The right tools and aids extend the battery’s lifespan and reduce the risk of damage. Invest in high-quality equipment to benefit from safe and efficient handling in the long run.
Step-by-Step Guide to Removing the Battery

Remove the Battery Cover (If Present)
Start by checking whether your e-bike has a battery cover. This cover protects the battery from dirt and moisture. Carefully remove it by releasing the clips or screws. If necessary, use a suitable tool to loosen the cover without damaging it. Put the cover somewhere safe so it doesn’t get lost.
Tip: Clean the cover and surrounding areas before proceeding. This prevents dirt from getting into the mount.
Use the Lock Key to Unlock the Battery
Take the lock key and insert it into the battery lock. Slowly turn the key until you hear a click. This sound indicates that the battery is unlocked. Remove the key and store it safely. You won’t be able to reinstall the battery later without the key.
Note: Avoid turning the key by force. A damaged lock can make it harder to remove the battery.
Carefully Remove the Battery from Its Mount
Grip the battery with both hands to remove it safely from its mount. Pull it out slowly without jerking. Be careful not to drop the battery, as this can cause irreparable damage. Keep the battery steady to avoid putting strain on the contacts.
Caution: An e-bike battery can be heavy. If you’re having trouble, ask someone to help.
Disconnect the Connections and Set the Battery Down Safely
Check the connections between the battery and the e-bike. Carefully disconnect them by unplugging the connectors. Don’t pull on the cables; hold the connectors firmly to avoid damage. Then place the battery on a clean, dry, stable surface. Avoid direct sunlight and extreme temperatures.
Tip: Use a soft surface to prevent scratches or damage to the battery.
Summary of Steps:
Remove the battery cover.
Unlock the battery with the lock key.
Carefully remove the battery from its mount.
Disconnect the connections and set the battery down safely.
Follow these steps to remove your e-bike battery safely and efficiently. Careful handling protects the battery and extends its lifespan.
Step-by-Step Guide to Installing the Battery

Check the Battery for Damage or Dirt
Before installing the battery, carefully inspect it for visible damage or dirt. Pay particular attention to the contacts and the battery’s surface. Dirty contacts can affect performance and cause malfunctions. If necessary, clean them with a soft, dry cloth. If you find cracks or other damage, do not use the battery. A damaged battery can pose safety risks.
Tip: Always store your e-bike battery in a clean, dry place to prevent dirt from accumulating.
Insert the Battery into Its Mount
Carefully place the battery into its designated mount. Make sure it is properly aligned. The most common mounting option is the rear rack, which is particularly useful for heavier batteries. Alternatively, triangle packs in the middle of the frame provide optimal weight distribution. Slowly push the battery into the mount until it is securely seated. Avoid sudden movements so you don’t damage the contacts.
Note: If your e-bike uses a Dolphin case that takes the place of the bottle holder, check that the battery remains easily accessible.
Reconnect the Connections and Lock the Battery
Connect the battery plugs to the corresponding ports on the e-bike. Make sure the plugs are firmly connected, but don’t use excessive force. Never pull on the cables, as this may cause damage. Once the connections are made, lock the battery with the lock key. Turn the key until you hear a click. This sound indicates that the battery is securely locked.
Caution: If the battery is not properly locked, it could fall out while riding. Always double-check the lock.
Check That the Installation Is Correct
Turn on the e-bike and check that the battery is working properly. Check the display to make sure the battery is recognized and the power supply is stable. Test the battery’s stability by gently pulling on it. It should sit firmly in the mount. If you notice anything unusual, repeat the installation and check the connections again.
Summary of Steps:
Check the battery for damage or dirt.
Insert the battery into its mount.
Connect the plugs and lock the battery.
Check that the installation is correct.
Follow these steps to install your e-bike battery safely and efficiently. Careful installation ensures reliable performance and extends the battery’s lifespan.
Tips for Battery Care and Storage
Regularly Clean the Contacts
Clean contacts are essential for optimal battery performance. Use a soft, dry cloth to remove dust and dirt. Avoid harsh cleaning agents, as they can damage the contacts. Check the contacts regularly, especially after riding in bad weather. Dirty contacts can interfere with power transfer and shorten the battery’s lifespan.
Tip: Clean the contacts at least once a month to ensure a reliable connection between the battery and e-bike.
Recommended Storage Temperature and Environment
The right storage temperature maximizes the battery’s lifespan. Studies show that temperatures between 10 and 20 degrees Celsius are ideal. Store the battery in a dry place away from direct sunlight. A frost-free environment is especially important, as extreme temperatures can cause damage.
Environment |
Notes |
|
|---|---|---|
10–20 degrees Celsius |
Dry, no direct sunlight |
Maximizes lifespan and performance |
Approx. 20 degrees Celsius |
- |
Optimal for lithium-ion batteries |
Note: Avoid storing the battery on concrete floors, as they can draw in moisture.
Avoid Deep Discharging and Overcharging
Deep discharging and overcharging damage the battery’s lifespan. Modern lithium-ion batteries lose capacity faster if they are regularly charged to 100 percent or discharged below 20 percent. Deep discharging causes mechanical stress in the electrode material, permanently reducing capacity. So charge your e-bike battery regularly and be careful not to drain it completely.
Tip: Favor partial charges to extend the battery’s lifespan.
Store the Battery Properly When Not in Use for an Extended Period
If you won’t be using the battery for an extended period, make sure to store it properly. Keep the charge level at around 50 to 70 percent. Fully charged or empty batteries can be damaged. Store the battery in a dry, well-ventilated room at temperatures between 10 and 20 degrees Celsius.
Temperature control: Avoid extreme temperatures below 0 or above 30 degrees Celsius.
Charge level: Keep the battery charged to 50 to 70 percent.
Storage location: Do not store the battery directly on concrete floors to avoid moisture damage.
Note: Check the battery for damage or dirt before using it again.
This guide makes removing and installing your e-bike battery safe and easy.
-
Key Steps:
Carefully remove the battery and set it down safely.
Clean the contacts and insert the battery correctly.
Note: Always follow safety precautions and care for the battery regularly. Review the guide if you’re unsure. This will keep your battery in top condition!
FAQ
How often should an e-bike battery be cleaned?
Clean the battery at least once a month. Clean contacts ensure better performance and extend the battery’s lifespan.
Can I remove or install the battery in the rain?
Avoid working on the battery in the rain. Moisture can damage the contacts and affect how the battery works.
What should I do if the e-bike battery does not lock properly?
Check the mount and the lock key. Repeat the installation until the battery is securely seated.